


Surface preparation is crucial for DIY projects, ensuring top-quality finishes on walls, floors, or cars. It involves cleaning, repairing, and treating surfaces to create a smooth base. Essential tools include a power sander and pressure washer. For detailed work, invest in microfiber cloths and polishing compounds. Safety gear like goggles and gloves is vital. Proper prep enhances aesthetics and performance, especially for paint, coatings, and protective films like vehicle wraps or window tinting.
Are you a DIY enthusiast looking to elevate your projects? Understanding surface preparation is key to achieving professional results. This comprehensive guide delves into the fundamentals of surface preparation, providing essential insights and techniques for successful DIY endeavors. From understanding the importance of preparation to exploring common techniques across various surfaces, this article equips you with the knowledge to transform spaces effectively. Master these skills, and watch your creative visions come to life flawlessly.
- Understanding Surface Preparation: The Foundation for Successful DIY Projects
- Essential Tools and Materials for Effective Surface Preparation
- Step-by-Step Guide to Common Surface Preparation Techniques for Different Surfaces
Understanding Surface Preparation: The Foundation for Successful DIY Projects
Surface preparation is a crucial step in any DIY project, especially when it comes to enhancing or transforming surfaces like walls, floors, or even cars. It involves the meticulous process of cleaning, repairing, and treating the existing surface to ensure a smooth and even base for the final finish. This initial phase sets the foundation for successful DIY endeavors, enabling enthusiasts to achieve professional-looking results.
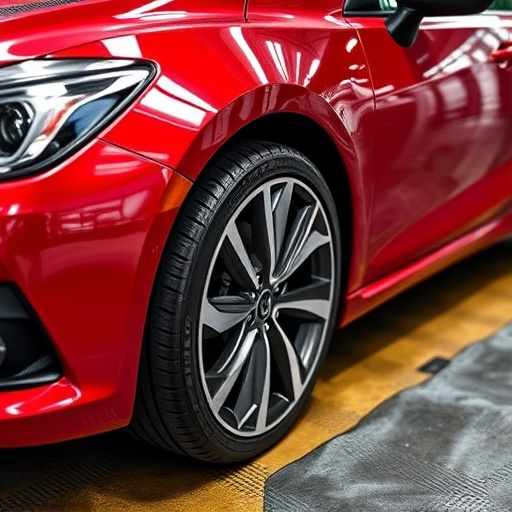
For car customization enthusiasts, proper surface preparation is an art that can elevate the quality of premium automotive services. It involves techniques like sanding, priming, and de-greasing to eliminate impurities and ensure optimal adhesion of paint or other coatings. Efficient surface preparation not only enhances the aesthetics but also improves the overall performance, especially in terms of heat rejection, which is vital for vehicle cooling systems.
Essential Tools and Materials for Effective Surface Preparation
Before tackling any surface preparation project, DIY enthusiasts should assemble a toolkit that includes essential tools and materials. A power sander is an indispensable tool for smoothing rough surfaces and removing old finishes, making way for new coatings. Additionally, a pressure washer can effectively eliminate stubborn dirt, grime, and debris from various surfaces, including walls, decks, and vehicles.
For more meticulous tasks like paint correction and detailing, consider investing in microfiber cloths, polishing compounds, and applicators. These premium automotive services-level tools will ensure a flawless finish, be it on your car’s exterior or a furniture piece. Always remember to wear protective gear, such as safety goggles and gloves, for safe and efficient surface preparation.
Step-by-Step Guide to Common Surface Preparation Techniques for Different Surfaces
Surface preparation is a crucial step for any DIY enthusiast looking to achieve professional results, whether it’s for painting, staining, or applying protective coatings like vehicle wraps or window tinting. Here’s a simple guide for preparing various surfaces.
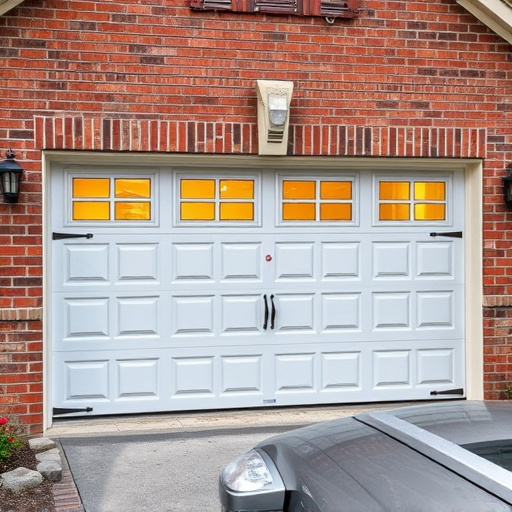
For wooden surfaces, start by sweeping or vacuuming to remove dust and debris. Next, use a mild detergent and a clean cloth to wipe down the wood, ensuring all dirt and oils are eliminated. Sanding with fine-grit sandpaper helps create a smooth base, especially for painting. For concrete, a good power washer is essential to remove grease, stains, and loose debris. After washing, etch the surface using a concrete etcher to improve adhesion. When preparing metal surfaces like cars for professional PPF (Paint Protection Film) installation or window tinting, degrease the area thoroughly with dedicated cleaners to ensure the film adheres properly. Use 220-grit sandpaper to smooth any rough spots and remove dust with a clean cloth before applying the protective coating.
For DIY enthusiasts, proper surface preparation is key to achieving professional results. By understanding the fundamentals and mastering various techniques detailed in this article, you’ll be equipped to tackle a wide range of projects with confidence. Whether it’s sanding, priming, or deglazing, each step in the surface preparation process plays a vital role in ensuring your creations stand the test of time. So, gather your tools, follow the guidelines, and get ready to transform any surface into a canvas for your artistic vision.