


TL;DR:
Surface preparation is vital for long-lasting results in projects like vehicle wraps and ceramic window tinting, ensuring optimal adhesion of finishing materials. It involves cleaning, decontaminating, and roughening surfaces to enhance durability. For textured surfaces, use abrasives; for smooth finishes, degreasers or cleaners. Start with thorough cleaning, then roughen the surface using fine-grit sandpaper. Wipe down and apply a suitable primer before adding customization or detailing work. Proper preparation prevents issues like poor adhesion, premature fading, and peeling.
“Unleash the key to achieving long-lasting results in any DIY project with our comprehensive guide on surface preparation. This article will take you through the essential steps and considerations, from understanding the importance of a solid foundation to selecting the right tools and materials.
We’ll provide a detailed step-by-step process, ensuring you’re equipped with the knowledge to prepare any surface for optimal performance. Discover how surface preparation is the backbone of successful projects, fostering durability and aesthetics.”
- Understanding Surface Preparation: The Foundation for Longevity
- Tools and Materials: Selecting the Right Arsenal for the Job
- Step-by-Step Guide: A Practical Approach to Surface Preparation
Understanding Surface Preparation: The Foundation for Longevity

Surface preparation is a critical step that often gets overlooked but is fundamental to achieving long-lasting results in any project, whether it’s applying uv protection to your vehicle wraps or ceramic window tinting. It involves cleaning, decontaminating, and preparing the surface to ensure optimal adhesion of the topcoat or finishing material. A thorough understanding of this process is key to maintaining the longevity and aesthetics of various surfaces, from cars to homes.
Proper preparation ensures that contaminants, oils, and impurities are removed, allowing for a smooth base that enhances the final product’s durability. For instance, when applying ceramic window tinting, an improperly prepared surface can lead to poor adhesion and premature fading or peeling. Similarly, in the case of vehicle wraps, surface preparation directly impacts how well the wrap adheres and how long it lasts before needing replacement, which can be costly. Effective preparation involves using the right tools and techniques tailored to the specific material and desired outcome, making it an essential step that shouldn’t be skipped.
Tools and Materials: Selecting the Right Arsenal for the Job

When it comes to surface preparation for long-lasting results, choosing the right tools and materials is paramount. The key to successful surface preparation lies in selecting products designed to meet your specific needs, whether you’re working on a custom vehicle wrap, paint protection film, or vinyl wraps. Start by assessing the surface’s condition and deciding on the level of finish desired.
For rough or textured surfaces, you’ll need abrasives like sandpaper or scouring pads to even them out. For smooth, existing finishes, a simple degreaser or cleaner may suffice. Always opt for high-quality products that are compatible with your surface material, be it metal, plastic, or paint. Using the wrong materials can lead to damage, compromising the longevity of your work, especially when dealing with delicate items like custom vehicle wraps or paint protection film.
Step-by-Step Guide: A Practical Approach to Surface Preparation

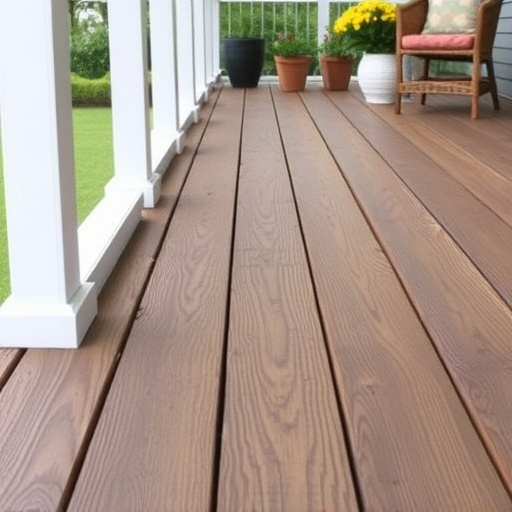
Preparing surfaces properly is a fundamental step in achieving long-lasting results for any project, be it automotive detailing or car customization. Here’s a practical, step-by-step guide to surface preparation that ensures optimal adhesion and durability. Start by thoroughly cleaning the surface with mild soap and warm water, removing any dirt, grease, or debris. This initial step is crucial as it creates a clean canvas for what’s to come.
Next, use fine-grit sandpaper to gently roughen the surface, improving its texture and enabling better paint or coating adhesion. After sanding, wipe down the area with a damp cloth to remove dust particles. For enhanced heat rejection in automotive applications, this step also opens up the surface’s pores, facilitating the transfer of heat away from the car’s body. Finally, apply a primer designed for your chosen finish, be it a glossy coat or matte look, to seal and protect the surface before adding your desired customization or detailing work.
Surface preparation is a crucial step in achieving long-lasting results for any project. By understanding the importance of a solid foundation and selecting the right tools, you can ensure that your work stands the test of time. Following our step-by-step guide, you now possess the knowledge to prepare surfaces efficiently, setting the stage for superior durability and aesthetics. Implement these practices, and you’ll be well-equipped to handle any project that comes your way, from refinishing furniture to constructing sturdy structures.